Cables on the circular sock knitting machine… ACK!
My mission this week was to explore cables and twists. Sound fiddly? Holy Moley, no kidding! There was just no realistic way to get seven pairs of cabled socks done. But I did manage four.
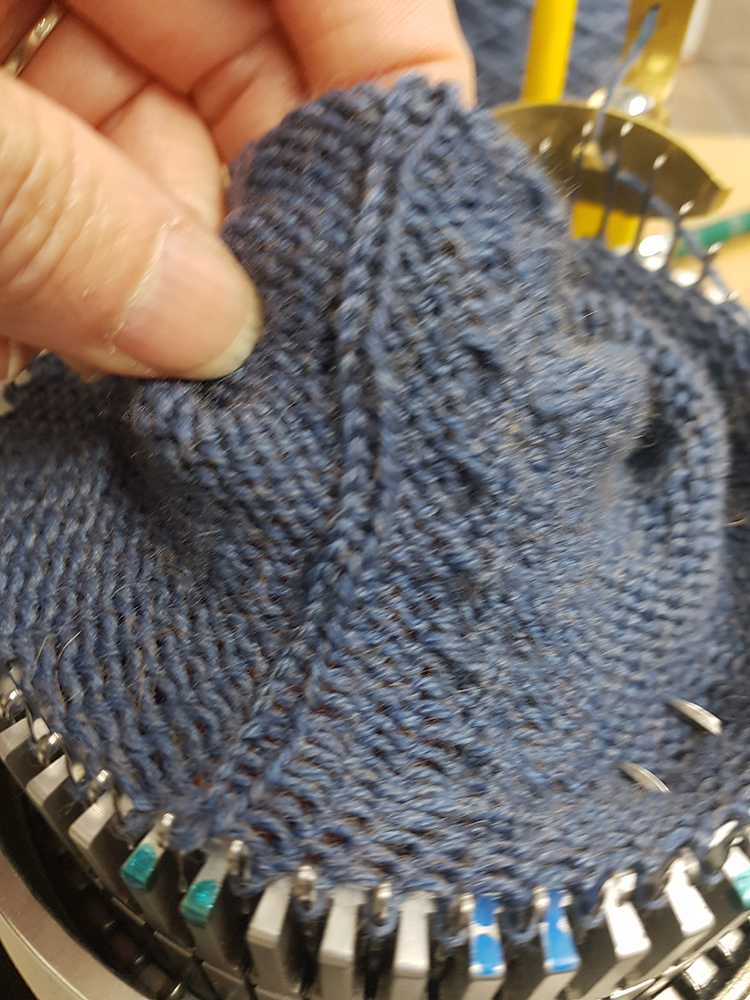
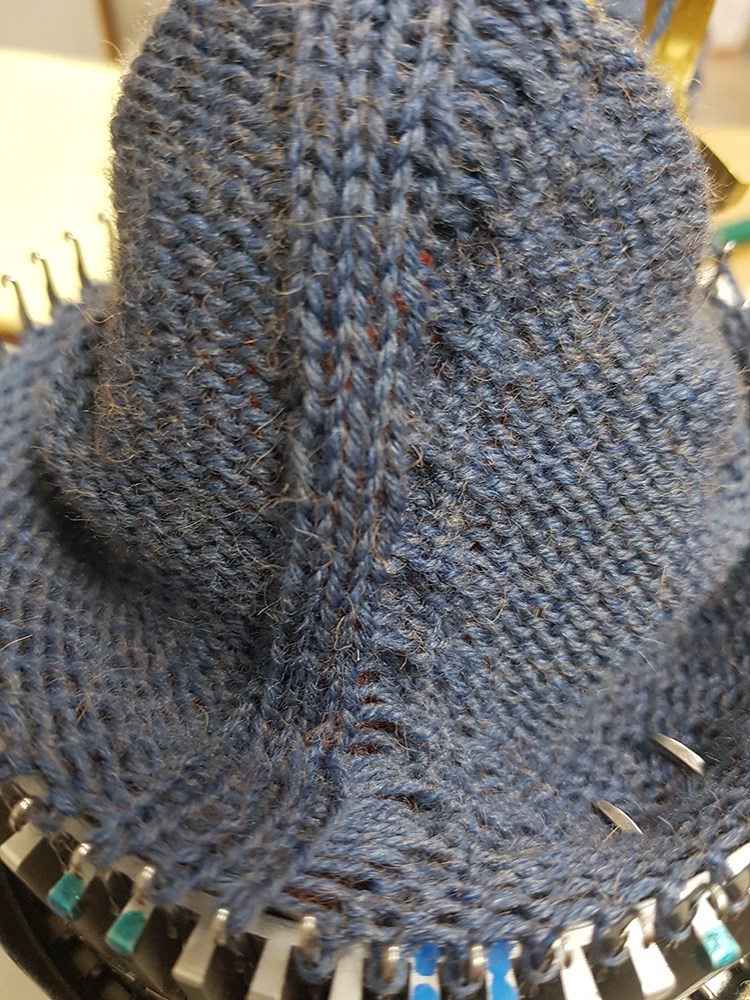
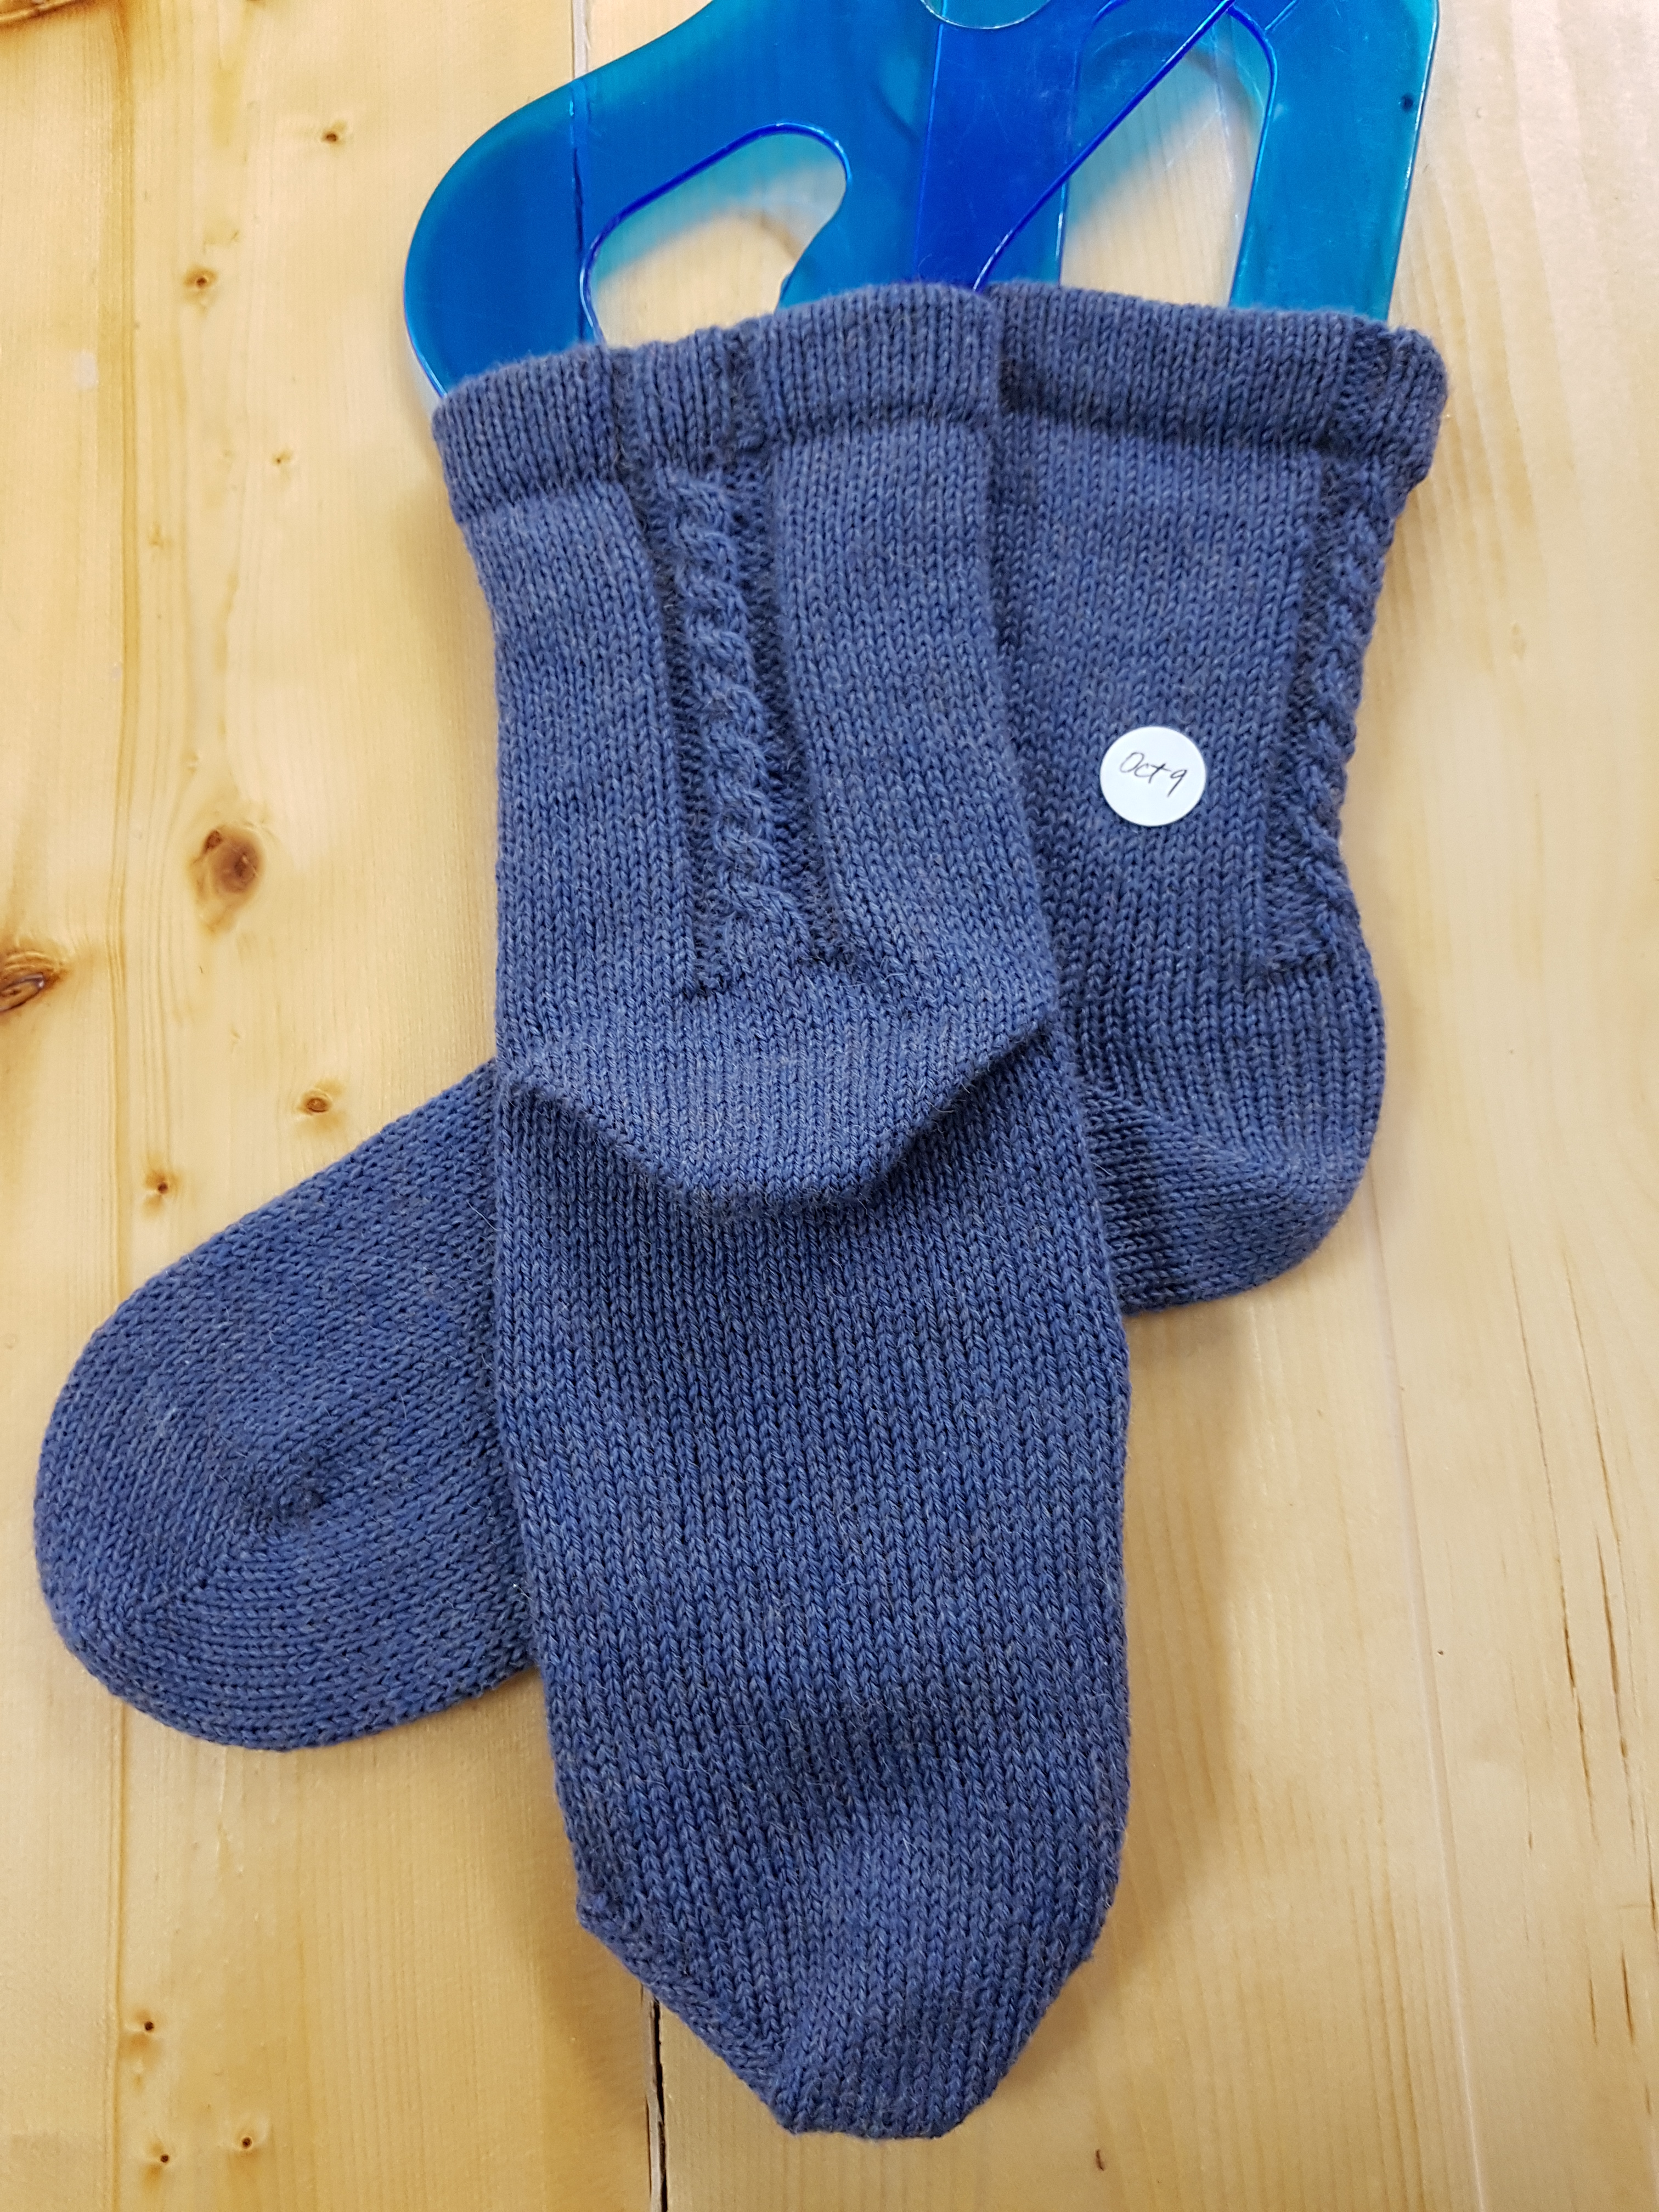
I thought I would start simply. A single 2×2 cable up the center back of each sock. I just wanted to dip my toes in the pond. After all, no need to turn my brain inside out, right? I did all the cables in the same direction and it went well enough that it gave me some courage to try something else.
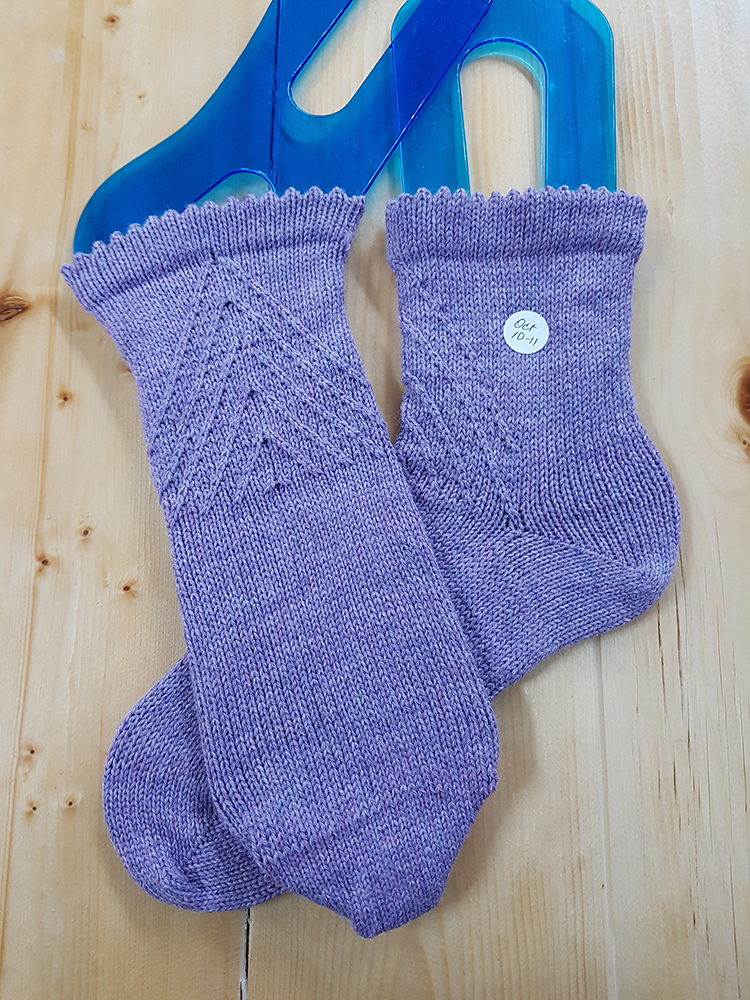
Next I tried some symmetrical rows of traveling stitches. I started with two side by side at center front and moved them outward. Because I wasn’t really sure what to look for, I honestly didn’t even know how to take notes for this. I finished up the first sock, did my best to peek at it to see if there were glaring mistakes and moved on to the second. There were a few twists that I had done in the wrong direction, but since this was all about learning, I left them. I thought I was doing the second sock the same as the first but I wasn’t. There was less space between the rows on the second sock.
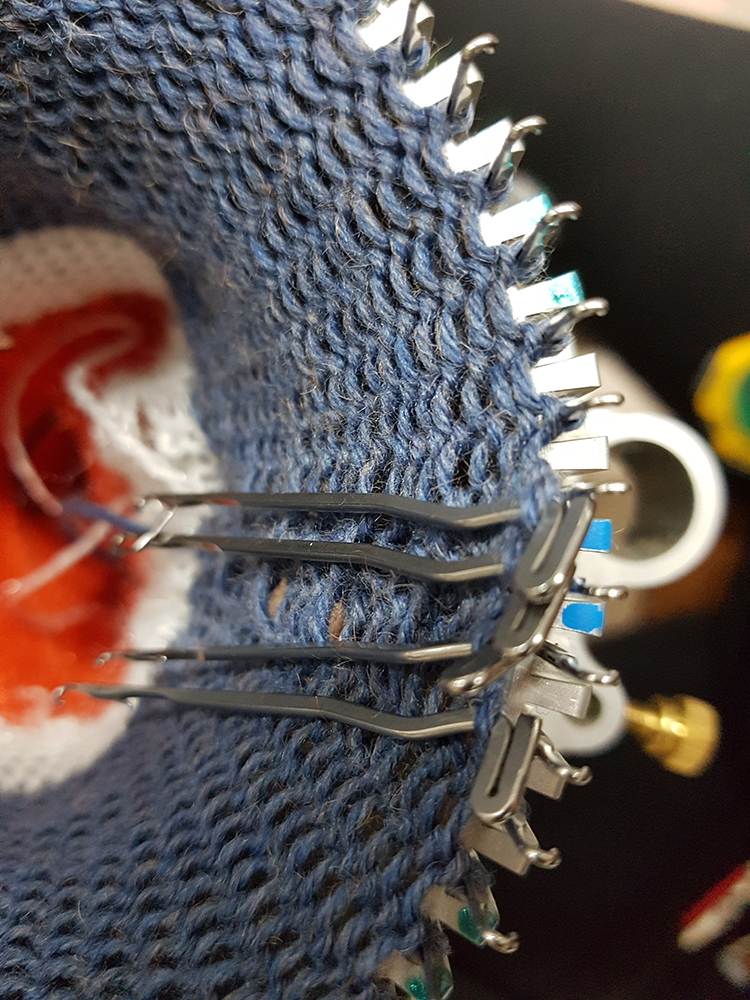

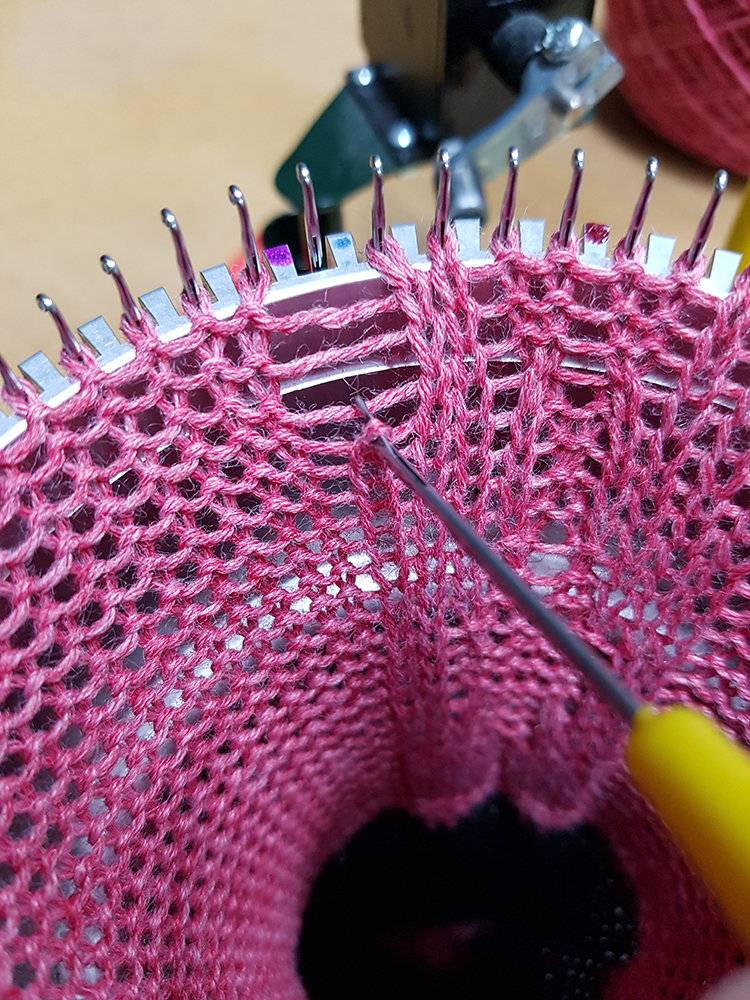
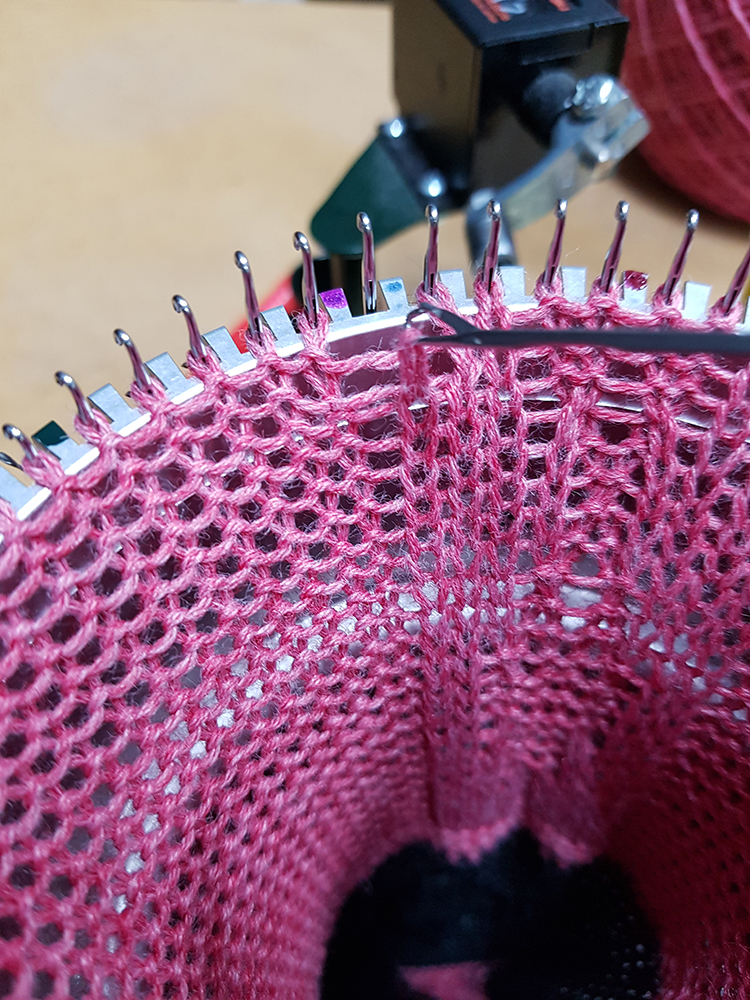
What I found with the traveling stitches (twists) was that using two hook-tools was easiest. The stitch that travels has to be placed first. So if the traveling stitch goes to the right, you place that stitch from the left to the right first and then cross the one from the right over it to the left. It’s a little confusing since you look at some of the stitches from the inside and some from the outside. It’s in the round… yeah, it kinda made my head hurt. With one hook, I took the stitch off the target needle first, then with the second hook, I moved the other stitch directly onto the target needle before crossing that first one onto its respective needle.

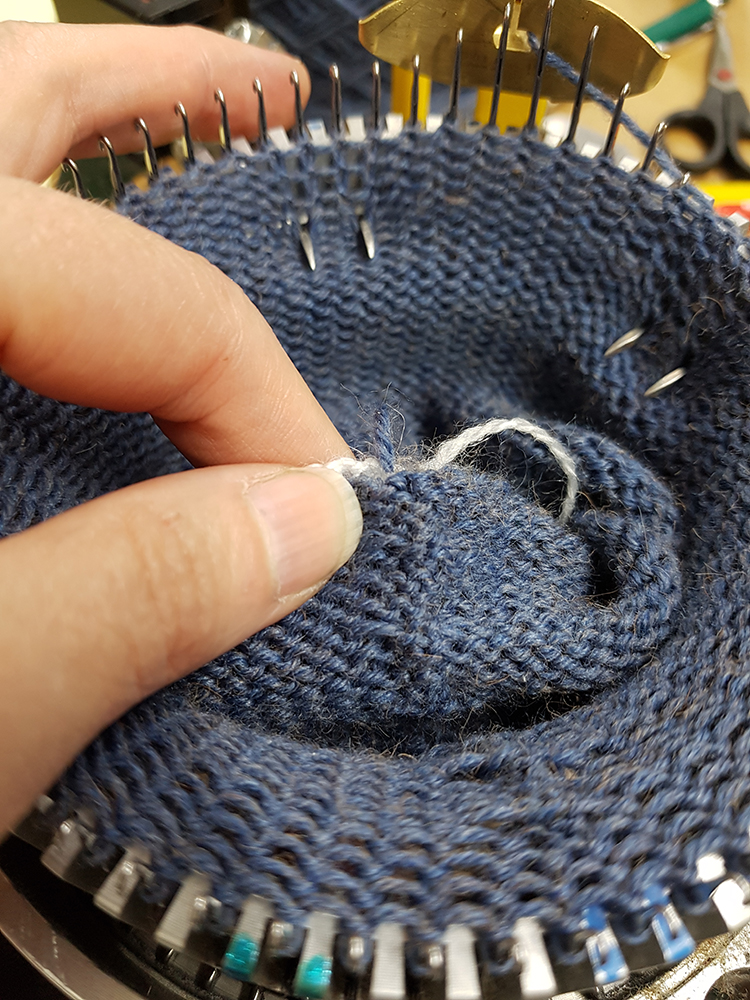
What I learned from that second pair of socks is that you really want to work from a chart. Even if you think it’s simple, by the time you place the stitches, it’s inevitable that you’ll get lost. I use a program called Envisioknit to draft charts. It’s a fantastic program and it’s so much easier and cleaner than mapping things out on graph paper. I thought I’d play around with some ideas and then try them out just to see what happened. I’d done a lot of cabling by hand, but never on the machine. If you need to make purl stitches to create definition, you have to reform those stitches manually. I did that on the first pair after I had the cables done to the top of the heel. I then placed a stitch marker into the first stitch I was purling from. That way, I couldn’t accidentally unravel it all the way. I then unraveled one column at a time and immediately (using my latch tool, though you could use a cylinder needle) reknit them as purl stitches. They then (of course) look like knit stitches on the inside of the sock.
I made up some charts and figured I’d dive in.
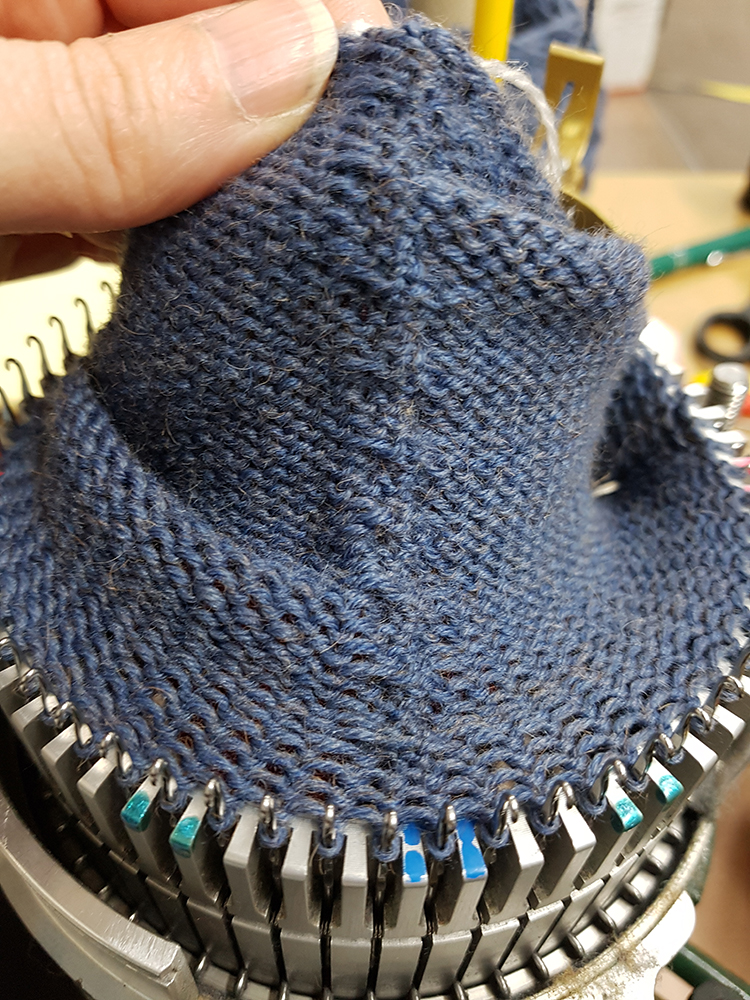
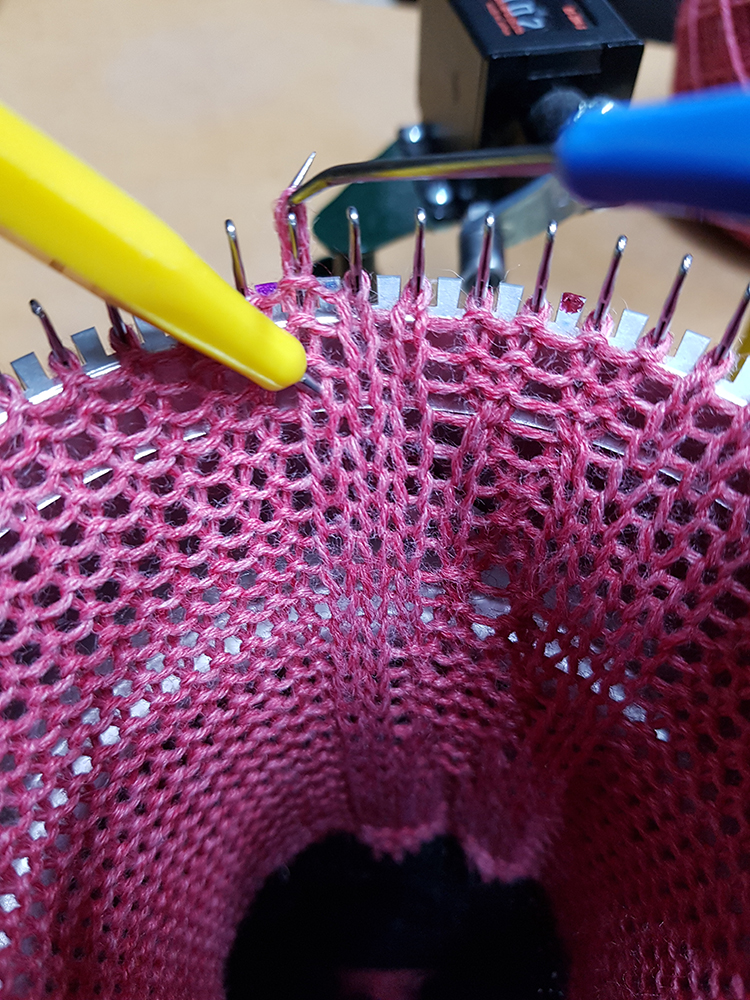
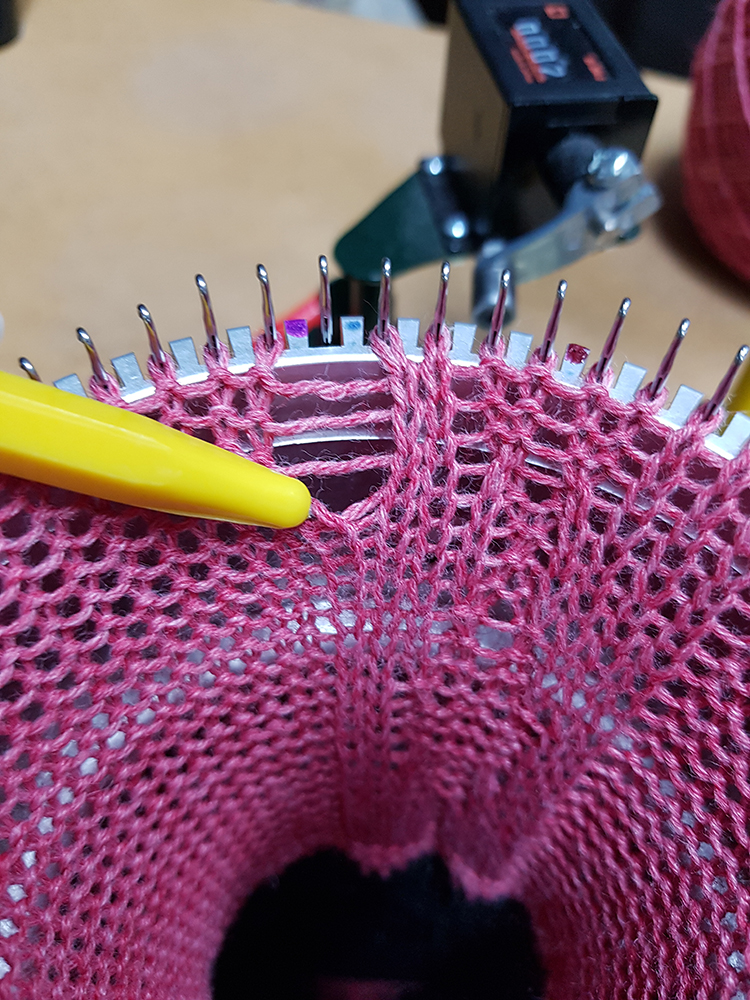
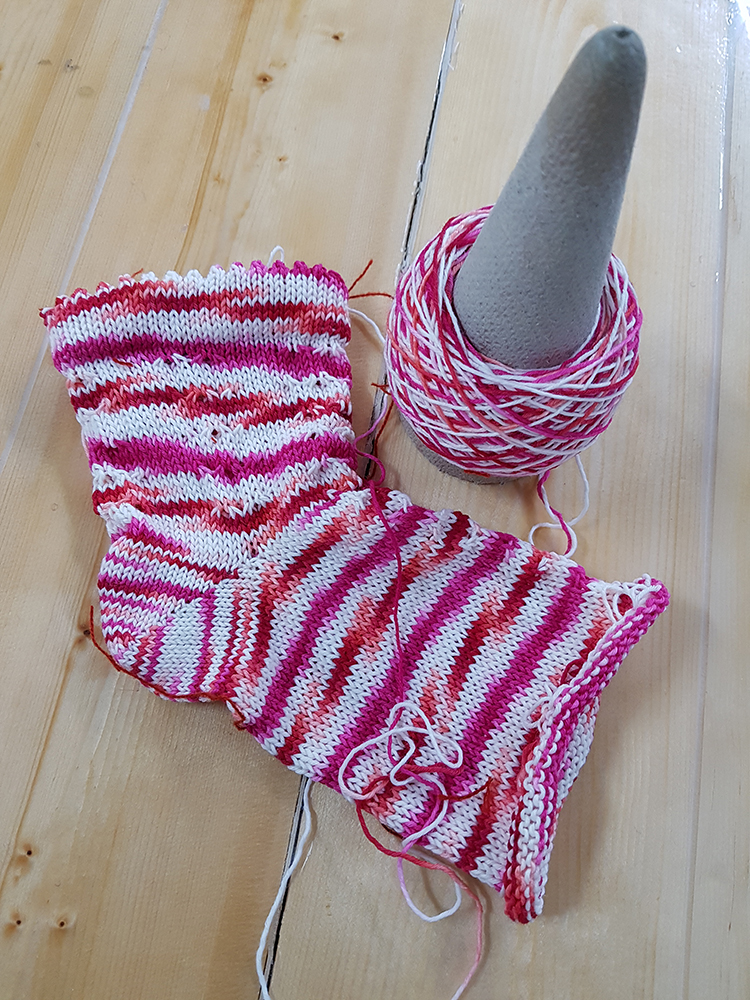
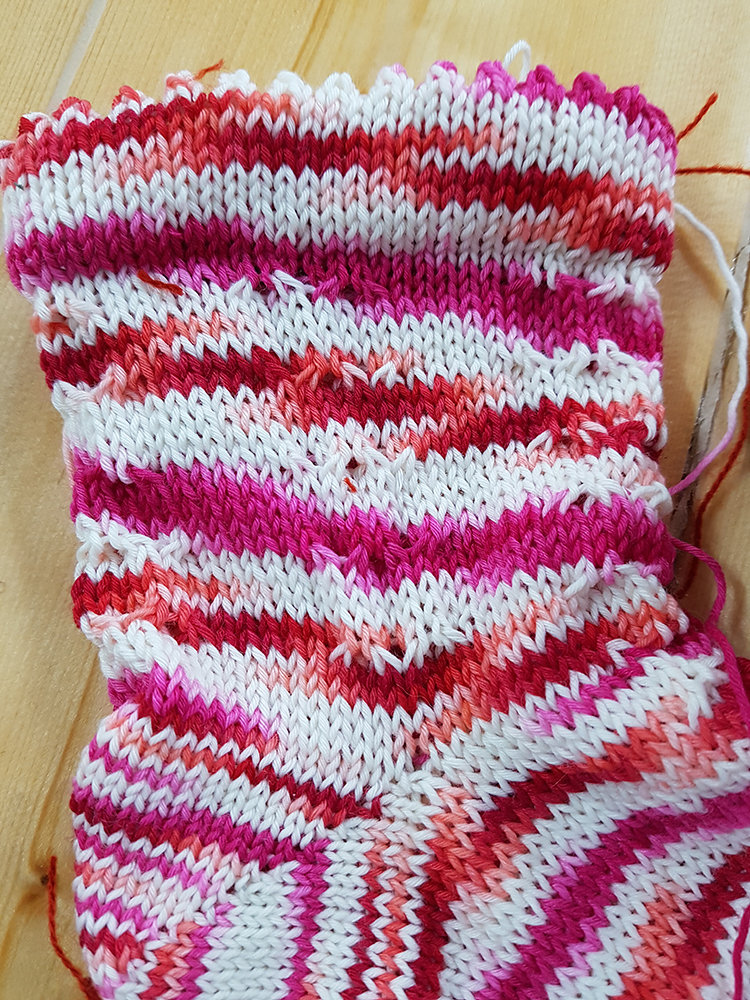
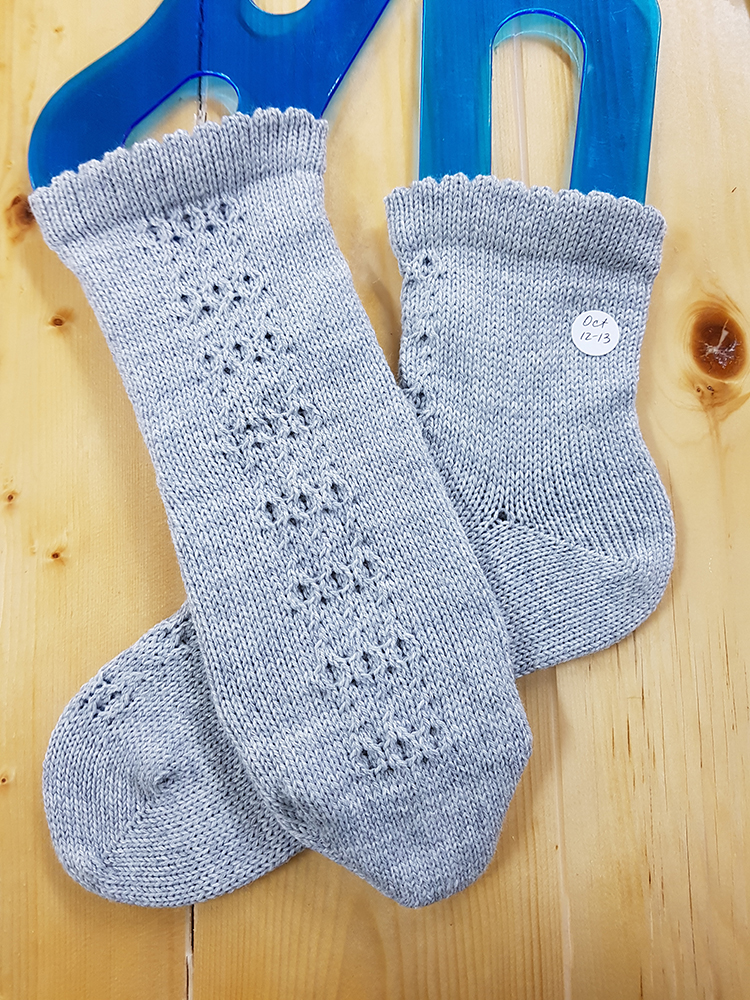
I had some Wollmeise Twin yarn leftover from a pair of socks I had made by hand and I figured if I just made the leg short I should be able to get two socks out of that ball. I was so excited that I had the cuff done before I thought about gauge. That was dumb. Especially knowing that this yarn tends to be thicker than other sock yarns. I got to the toe and realized that this sock would fit a Sasquatch. I walked away in disgust; I knew better; I was just being lazy. (Gauge testing is actually important.) In that chart, I had a whole bunch of twists all around the leg and down the center of the foot. I was honestly just curious how well it would show up without any purl stitches. It gave a subtle lacy effect.
When you have vertical columns of purl stitches to add in to your pattern, it’s really easy to drop those stitches down and reform them once the leg is done. A caution though, if you are doing traveling stitches that weave in and out of purl sections, you must do them as you go. That in itself is tricky. Your chart is your friend! You seriously don’t want to have to unravel and relatch this stuff! OMG! NO!


It is extremely tedious to do intricate cable patterns on the machine; it requires unimaginable focus; it’s still quicker than knitting it by hand. It’s a very different experience than hand knitting cables. It takes some practice to get accustomed to what you need to look for as you go. Because you are looking at the knit side of the stitches at the front of the machine and the purl stitches at the back of the machine, you do need to take the time to double check that you have moved those stitches correctly. Once you have prepped all those cables, they have to be knitted still. The temptation is to count that prepping round as done. All you did was place the stitches where they need to be to receive the yarn for that cable round to knit. Having a chart with row numbers on it is essential. You can’t see the finished fabric until you knit a zillion rounds of waste yarn or remove it from the CSM. There is no checking it. Keep an eye on the row counter to be sure you are on track. This has a significant learning curve, but it’s very satisfying to see the results. I found it mentally exhausting. I trust that with practice (and without any deadlines looming) it will get easier.
