During my second week of Socktober I focused on changing colours on toes and heels in the most efficient, yet structurally sound way. There are so many subtle things to think about. Funny how things that are normally completely automatic fall out of your head when you change things up.
The first major thing I changed was to replace my original yarn guide. I am now using one with slots rather than holes. That came with its own learning curve. If you aren’t careful during transitions, the yarn can pop out and suddenly your work just dropped off half a dozen needles! All in all it’s a lot easier once you get used to it.
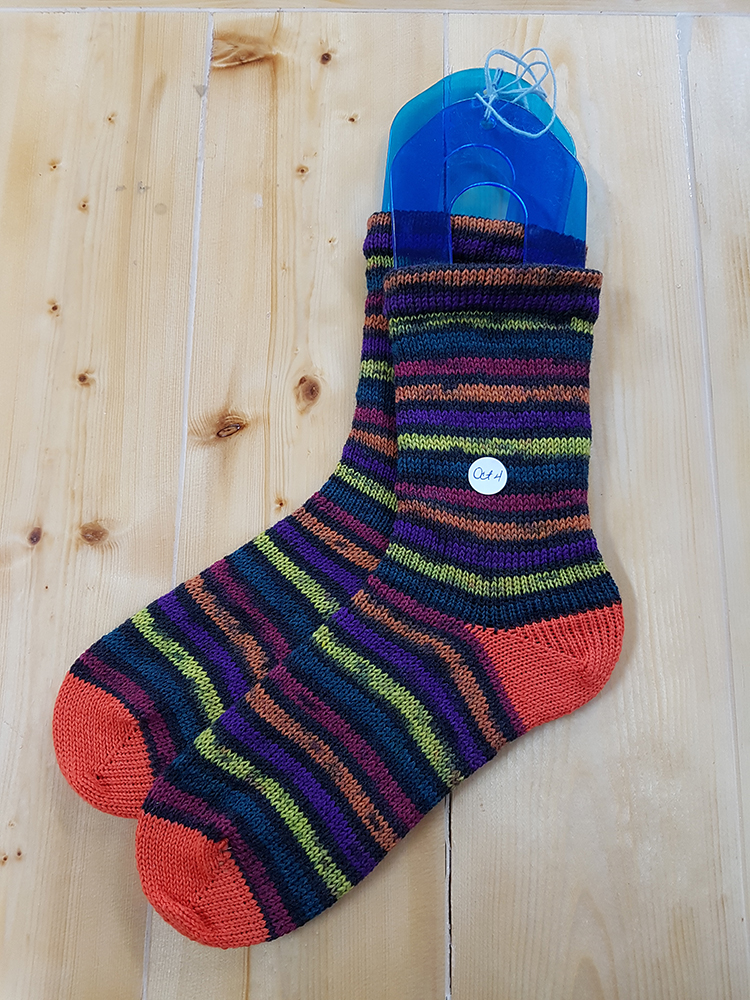
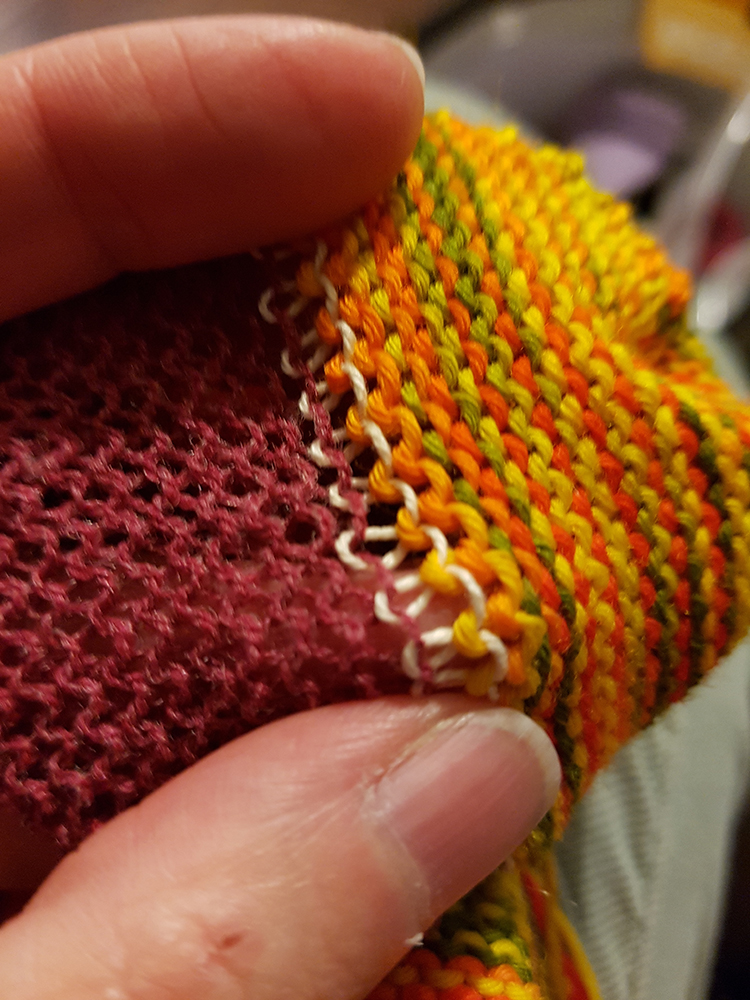
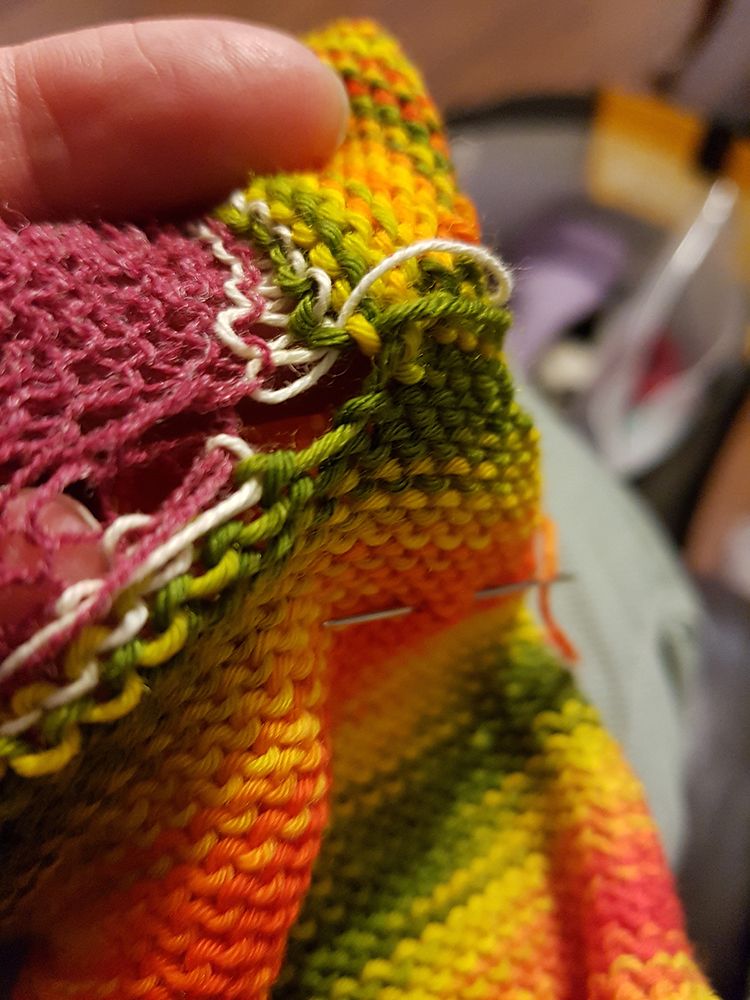
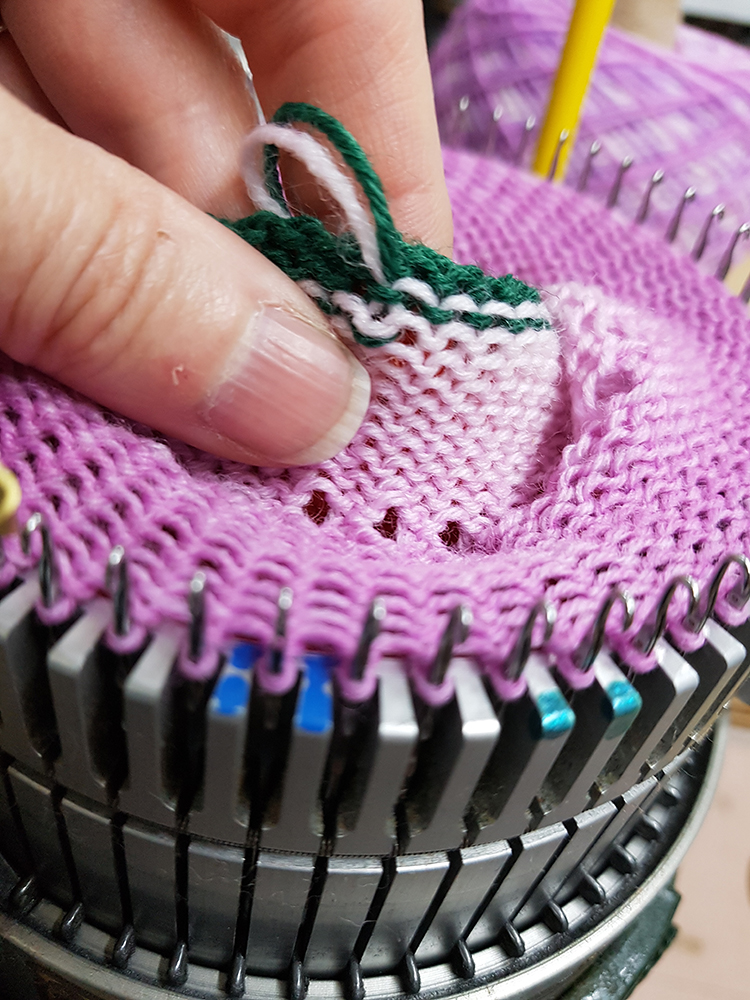
The first contrasting heels and toes, I joined the new yarn immediately at the colour change.
That meant I had tails for both, on either side of the heel. That might seem like a no-brainer, but I was concerned about the stability of those joins that take a lot of stress. I didn’t want to create a failure point, or a hot spot against the ankle either. I tried to imagine a way that I could incorporate enough stitches with both colours of yarn to allow me to simply cut off the yarn I’m done with and feel confident that everything will be solid.
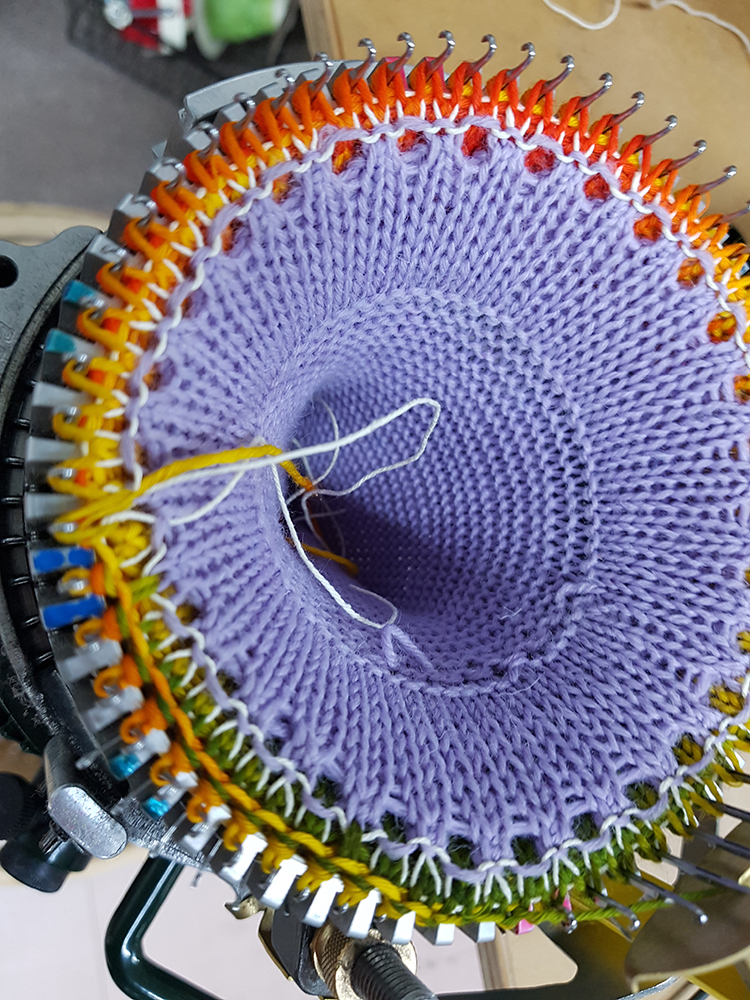
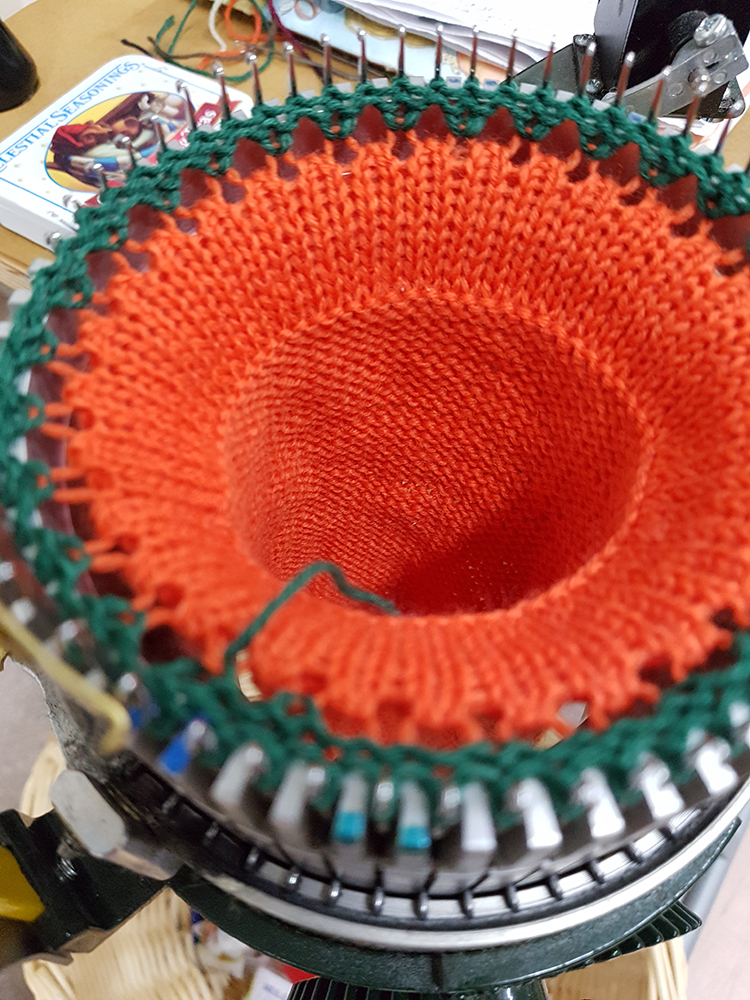
I ended up adding the heel colour to the base colour carrying the two together from the 9:00 position to the 6:00 position, lifting my rear needles to prepare for the heel and then continued with both yarns to the 3:00 position. I allowed about 4 inches of the new colour and cut the base colour once I got to the 3:00 position. I start my heel at 3:00. I lift the first target needle and then crank back. When I got back to 9:00, I added the tail to the working yarn and knit them together. I built my heel and on my last pass of the heel from the 9:00 position, I reintroduced the base colour and knitted it along to the end of the heel. I cut the heel yarn. I made sure the base colour was threaded through the yarn assembly (not in the heel spring). I incorporated the base colour tail into as many stitches as possible on the next round.
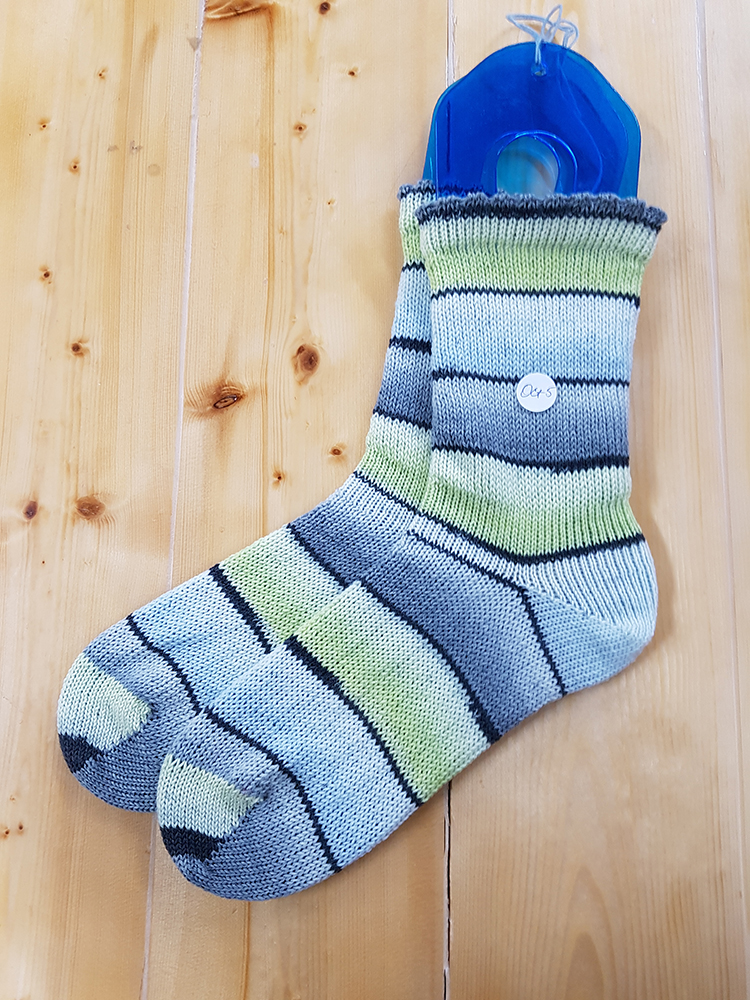
I started the toe in the same way, incorporating the second colour from the 9:00 position, pausing at 6:00 to lift the rear needles and continuing on to the 3:00 position. Obviously once the toe was finished I worked several rounds of waste yarn to prep for the next sock.
When working on a heel or toe on a sock machine, you alternate cranking forward and back as you build the short rows. The back half of your needles are in the non-working position as you focus just on the working needles at the front. As you deal with all the little things like lifting or wrapping needles, cranking, adjusting the fork weights and keeping the yarn moving smoothly through the assembly, it’s easy to go into a sort of auto-pilot. The more you do it, the more automatic it becomes. Unfortunately, as soon as you add one new thing, auto-pilot is no longer your friend.
At one point, I discovered I had a broken needle.
I picked up the resulting dropped stitches and replaced the needle. Without taking a moment to check, I started cranking and quickly realized that I had cranked in the wrong direction. My working thread was wrapped around the back needles. UGH! I tinked it back and recovered. In the next round I realized that I had broken another needle in trying to get that all sorted. I fixed those dropped stitches, switched out the second broken needle and carried on.
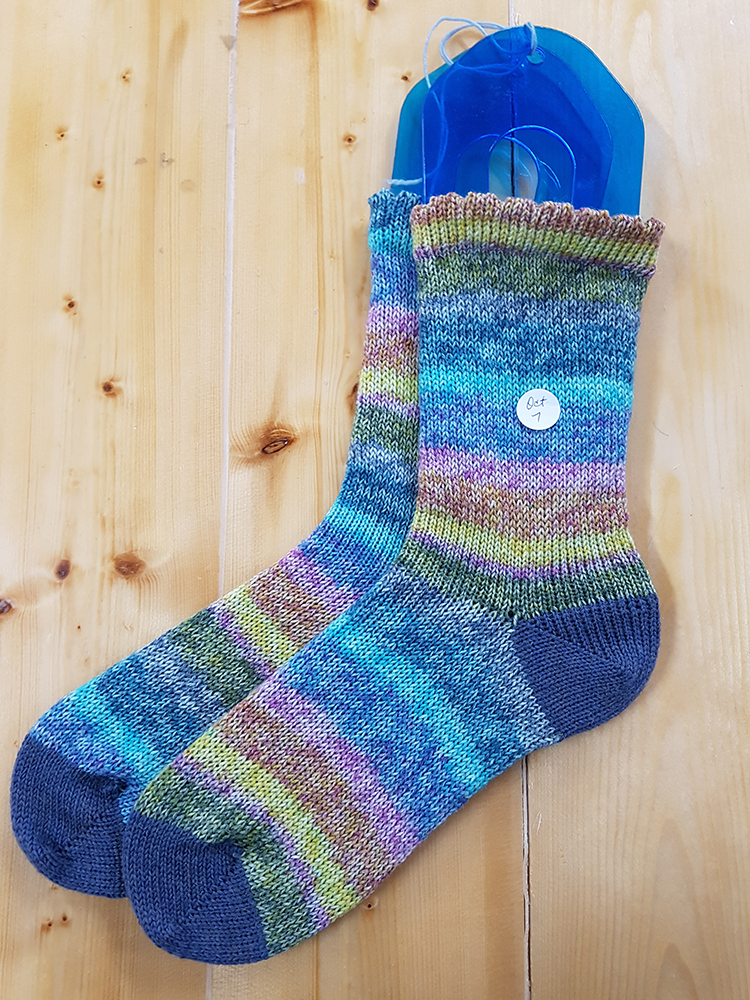
When I wound the dark green yarn onto a cone, it wound very tight. I probably should have rewound it looser a second time, but I was too lazy. No excuses; I did notice ahead of time. Between that yarn having a bit of tooth and grabbing onto itself and getting caught underneath the “ball” on the cone, I ended up with that heel knitting much tighter than I actually wanted it to. This led to one of the broken needles I mentioned. Because the orange yarn I used for a subsequent pair was the same yarn as the green, I took the time to wind it twice. It moved through the assembly much more smoothly.

I ended up giving up on the ravel cord thing for this week. I tried to use ravel cord directly on my cast on bonnet as the separation to the first sock. Unfortunately, I ended up with two or three stitches from my cast on bonnet being knitted into the first sock. I sacrificed the bonnet in the process. I made a new bright orange one though. I’ll go into the details another day.
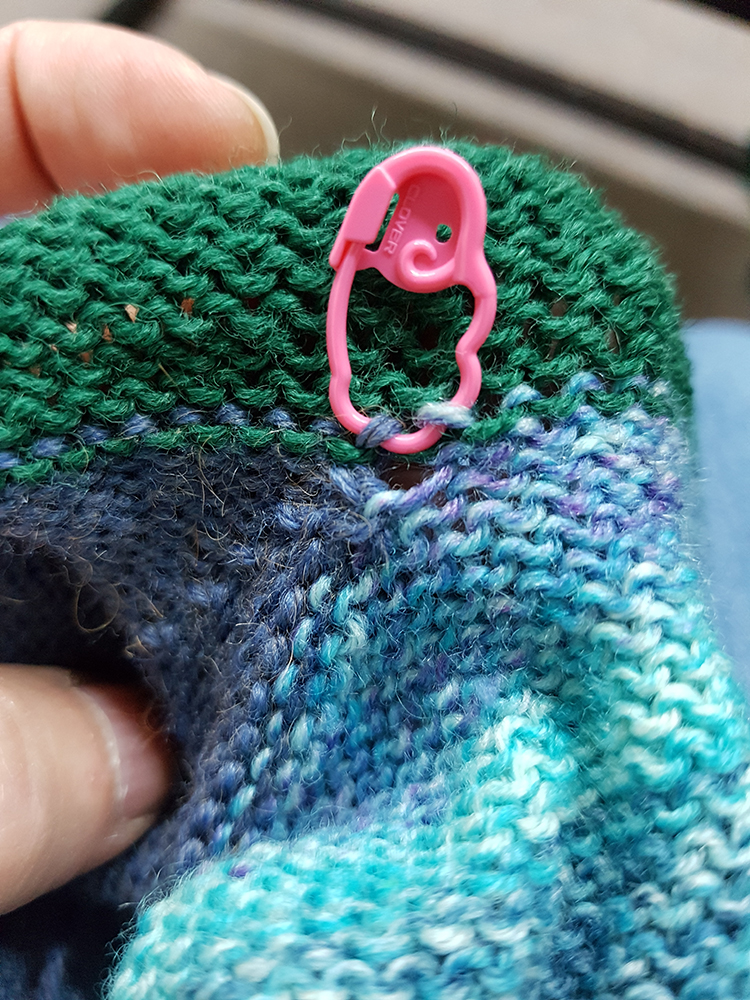
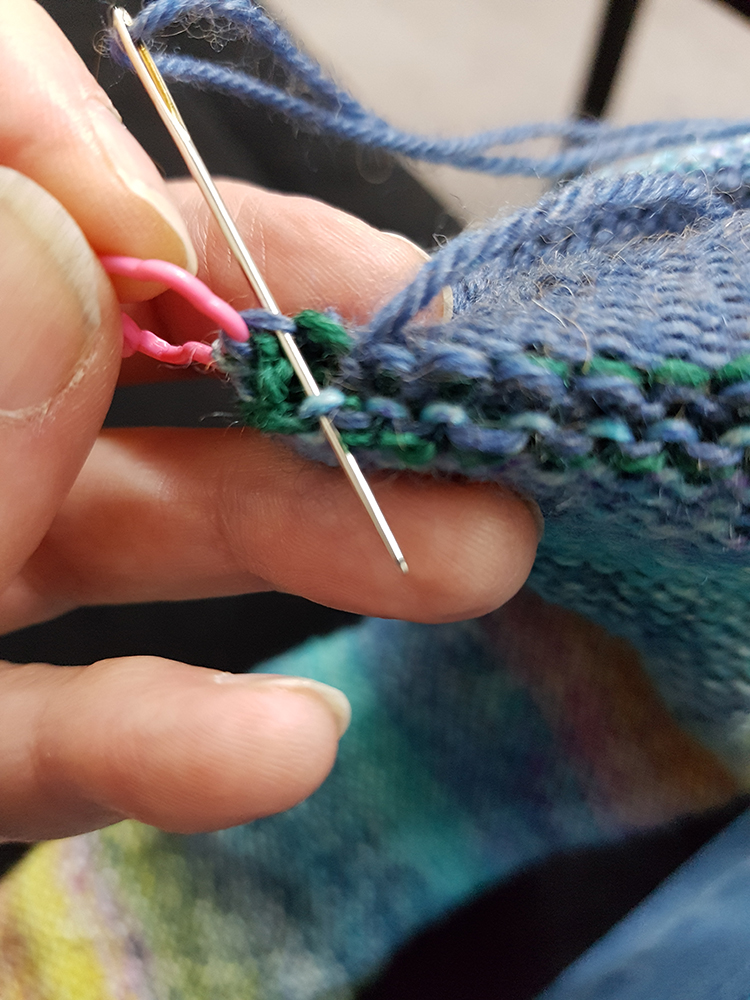
When I Kitchener the toes closed, I typically will put a stitch marker through the two final stitches at the end of the row. By the time you get there, what with the waste yarn underneath, it can be really tough to see. It’s really easy to miss one stitch. It’s a pain to have to recover that after you have woven your ends in. It was a good reminder why skipping this step is just a bad idea.
Because I was using several different yarns this week I was also reminded of the importance of actually thinking about the colour, weight and texture of the waste yarn. Doing the Kitcheners was challenging!
I feel really good about what I learned and accomplished this week. I have made a lot of socks on my machine since I got it last January. I built up a solid routine that minimizes my mistakes. This week offered a very clear view of how easily a routine can be upset by new parameters. It take focus to try new things.