So you have your pattern, your fabric and all the beautiful colours of floss.
Your hoop and needles are ready to go. You lay everything out on the table and take in the cross stitch graph… and you think, “what have I got myself into? Where do I even start?” Not to worry, I’ll help you get started.
Organize the floss
Your pattern will have a legend with a description of each of the colours in your project, a symbol that represents that colour on the graph and a DMC colour number.
If you bought a kit, those might be organized on pieces of cardstock, with the colour numbers next to them on the card. If so, you will definitely want to draw the matching symbols next to the corresponding floss. Take your time and double check that you are putting the symbols in the correct place.
Trust me, this will make your life way easier!
Skeins of Floss
Starting with full skeins? One option is to wind it onto bobbins. Take the colour number from the skein and tape it onto one wide end of the bobbin so you can see the number clearly, before you get started. I recommend you also put a temporary label with the symbol for that colour on the other end of the bobbin. (You will remove this once your project is complete.) Keep all those bobbins in a container like a tin or a floss organizer box to keep them clean and safe when not in use. Bobbins are available in cardboard and in plastic. You can buy sets with a ring to keep them all together.
Take your time to be sure that you have put the correct symbol with each colour.
You could make an extra label to tape around each skein with its respective symbol. You can simply pull a length of floss out of the skein, separate the strands as you need, and attach the extra strands around the skein until you need them. I have found that this method can get very messy, and as you use up the floss, the labels can fall off. So although it works, you have to be really careful to manage everything as you go along.
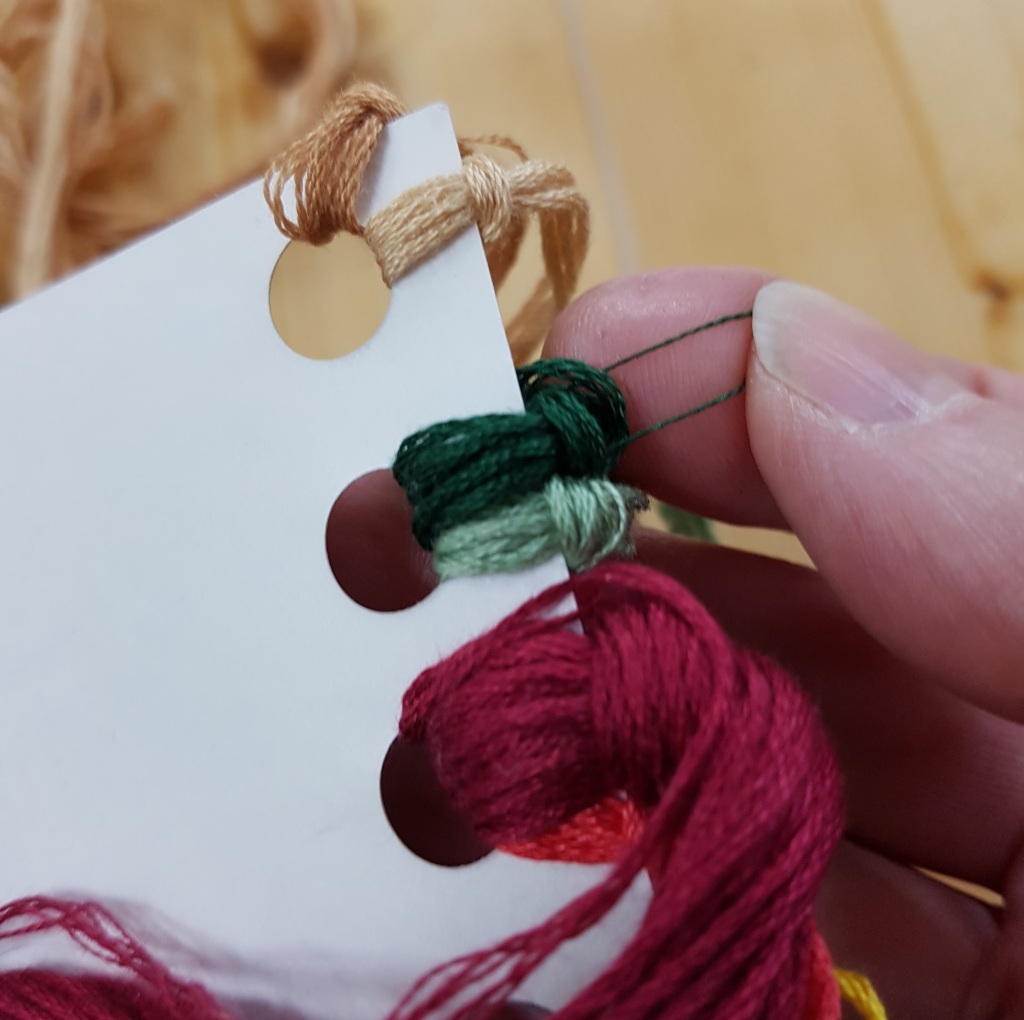
You can also cut your skeins of floss into shorter lengths, say 18″ long or so, lay them together and put them onto a home made floss organizer. You can make one or more using thin cardboard from a cereal box and a hole punch. Just make enough holes for all the colours. Label them carefully as you go with the number and the symbol and keep them in a tin or other organizer when not in use. Prepare one skein at a time to avoid confusion.
Prepare your pattern
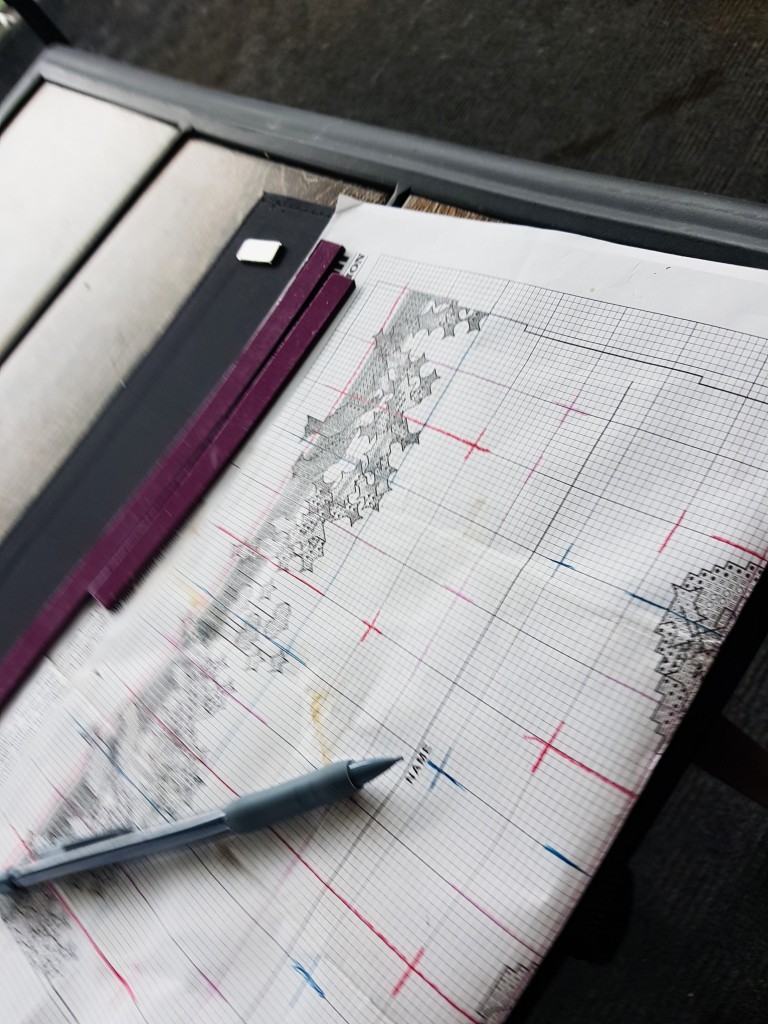
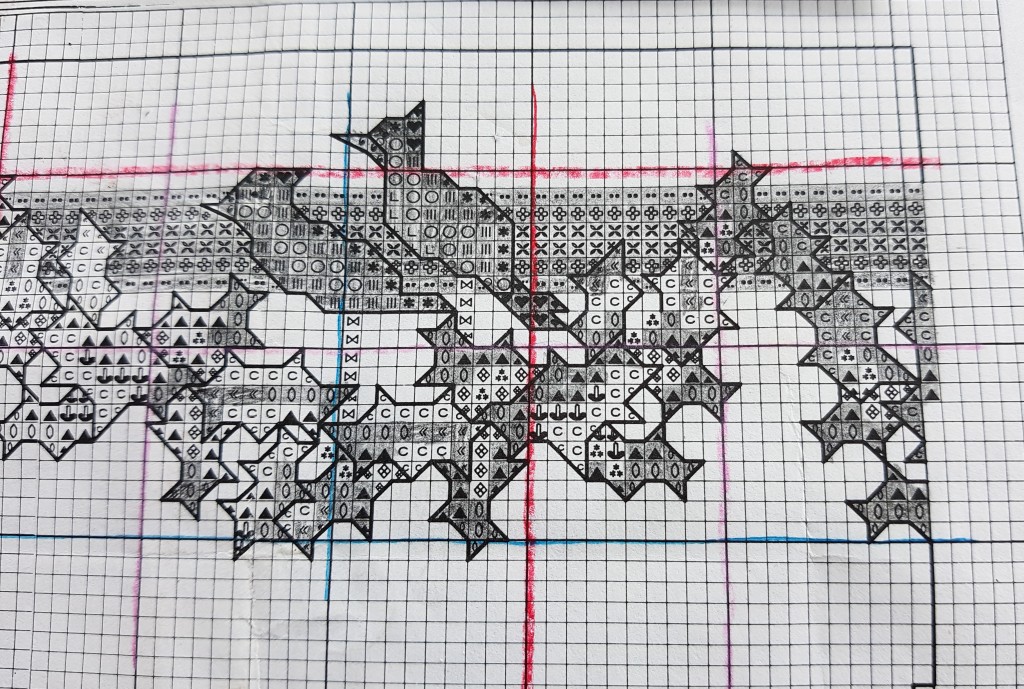
Whether a small or large pattern, mark the center of the graph. Now pull out your pencil crayons or markers and choose a few bright colours that are distinct from one another. For a large pattern use at least three different colours. Using a ruler, draw over the heavy lines that mark each section of ten stitches. Alternate the coloured pencils in the same order across the graph and the from top to bottom and left to right.
Prepare your fabric
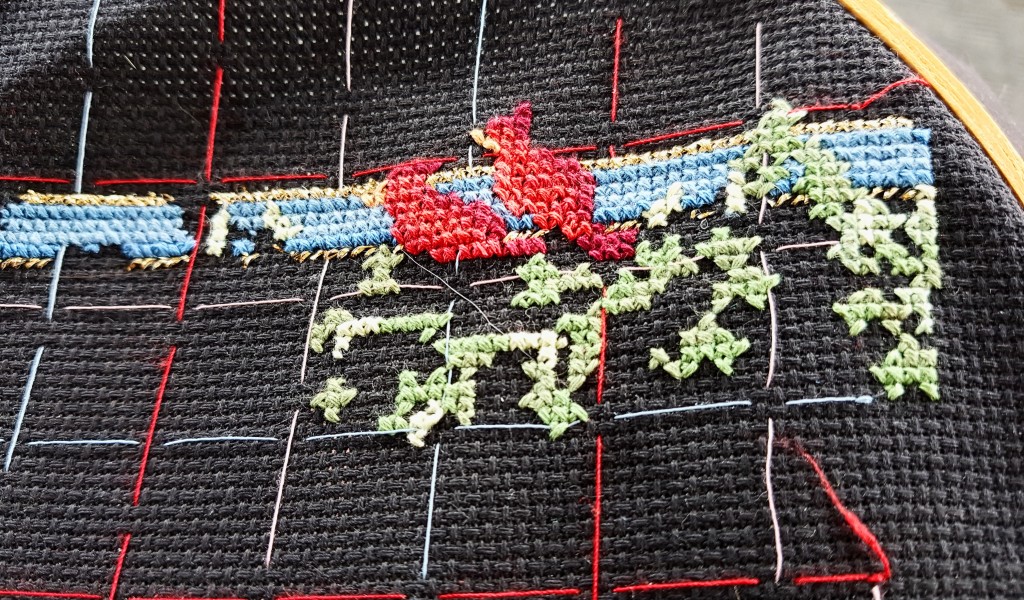
Find the center of the fabric. Mark it with one horizontal pin and one vertical pin. If you want to be really fussy about it, you can count the stitches on each side to make sure you are at the center. Using this as a guide, locate the closest heavy lines on the pattern, relative to the center and mark them with either a pin or a needle. Thread a needle with sewing thread in the colour that matches that line on the pattern. You will put a running stitch along all those ten-stitch lines on the fabric to correspond to the way you drew it on the pattern. Double check it! You want to be able to easily identify that coloured grid to orient where you are on the fabric relative to the pattern. If you are doing a small project this will go quickly. If you are doing a large complex project, trust me, you will thank me for urging you to take the time to do this. It may seem like a lot of preparation when you just want to get started already, but it’s worth it.
Once you have prepared all that, decide which area you want to stitch first. Find the square on the fabric and mark it with a pin or needle. Arrange the fabric in your hoop so that you can easily access that area, making sure you are orienting the fabric in the same direction as the pattern (top is at the top).
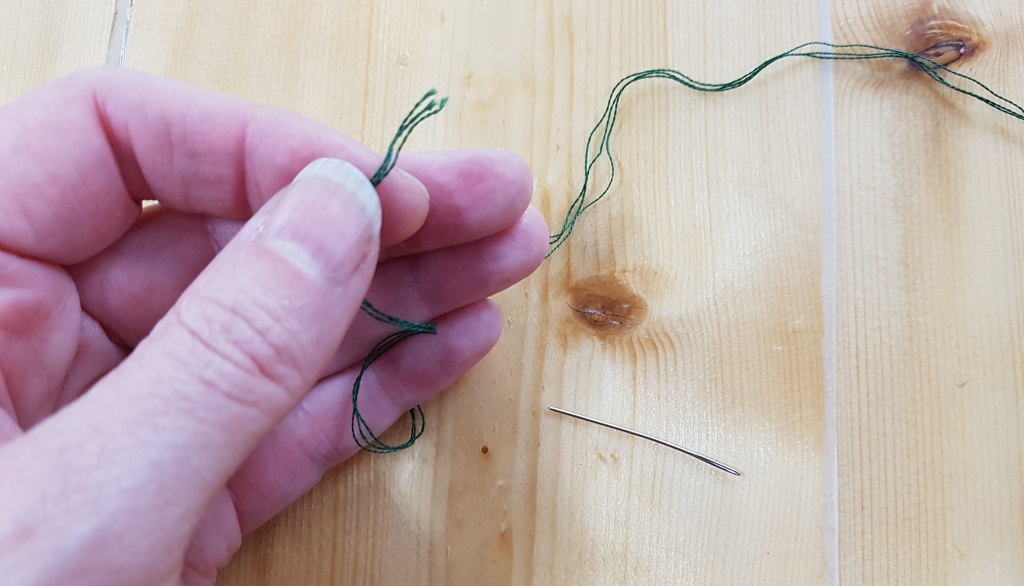
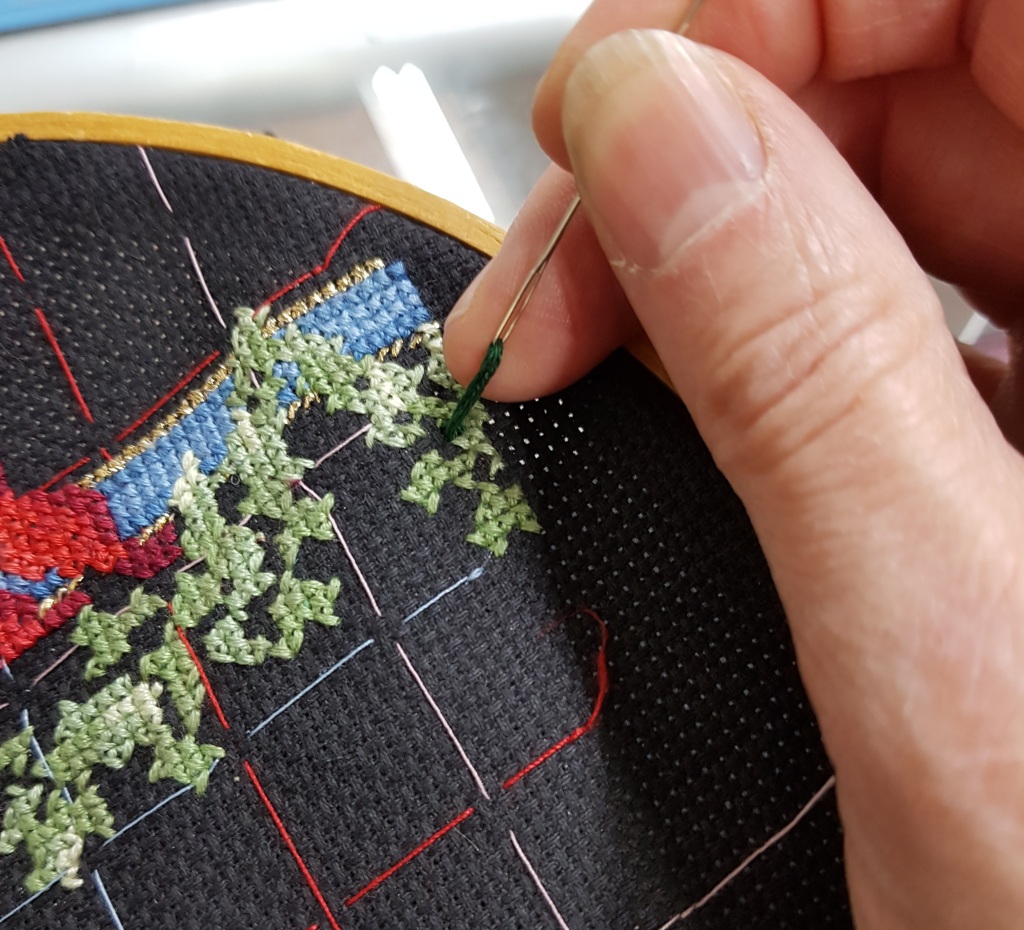
Check the instructions to determine how many strands of floss you need to use. Depending on the stitch count, you will need one, two or three strands. Choose the colour you want to start stitching with based on the symbols in the area you chose. You will want to have a manageable piece of around 18″. One by one, gently pull out the number of strands you need and lay them side by side. Align the ends and thread them into your needle. For your initial start, leave a long enough tail so you can weave it in behind the work.
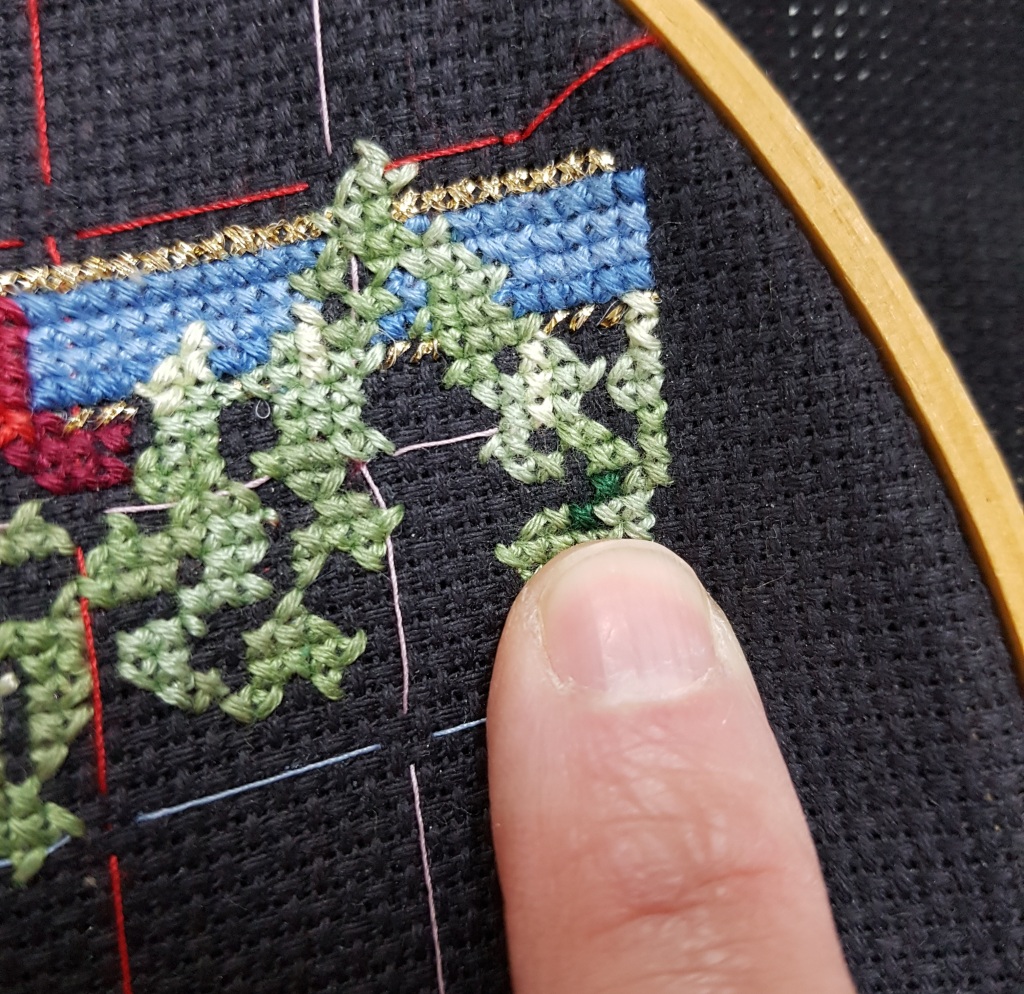
It’s important that all the crosses lay in the same direction.
If they don’t, the light will catch it and it will show. Follow the graph and stitch the crosses accordingly. When you get to the end of your colour or thread, weave in the end of the floss immediately and trim the tail as you go. Lightly colour in the completed squares on the pattern as you complete them. Using a pencil allows you to erase mistakes, or erase and reuse the same pattern again later.
Take your time, double check your work and pick out mistakes; this requires precision.
